
Popular categories
Looking for a yarn?


|
|
DROPS Extra 0-898 |
|
 |
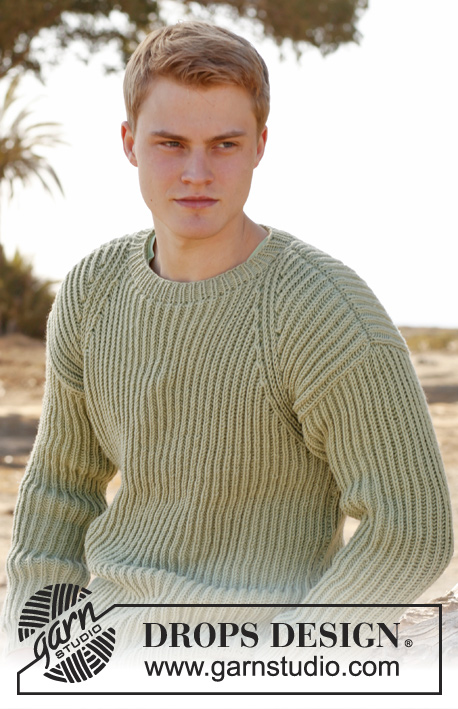 |
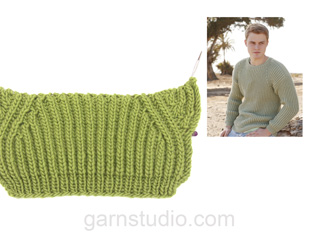
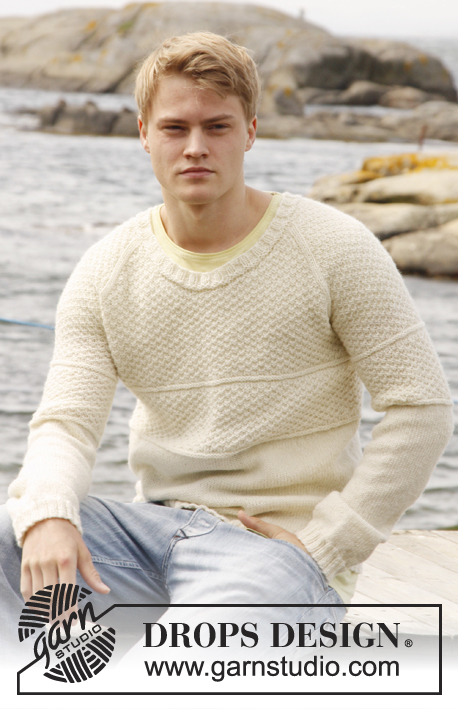
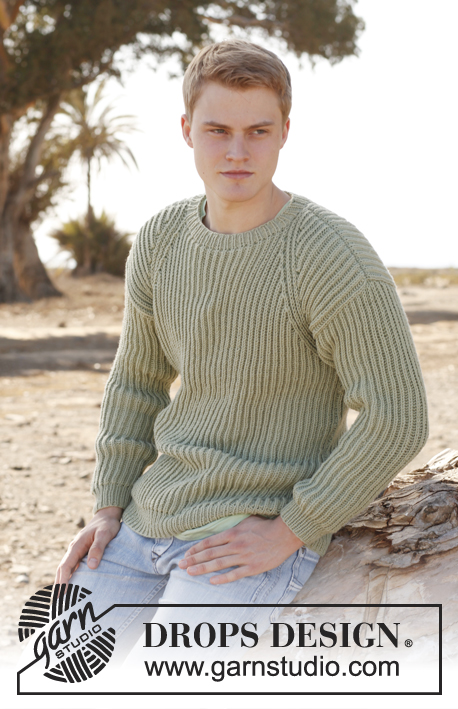
Men's knitted jumper with English rib, in DROPS Karisma. Size: S - XXXL.
DROPS Extra 0-898 |
|
|
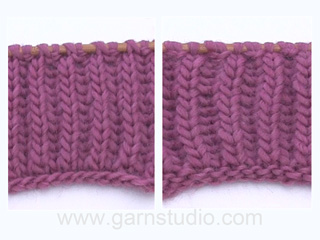
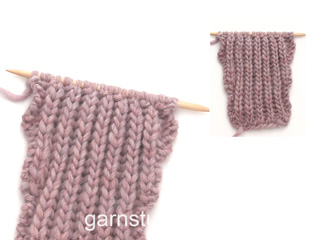
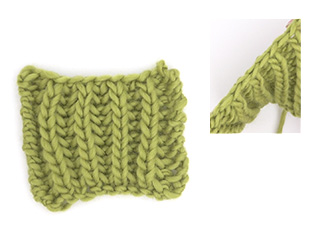
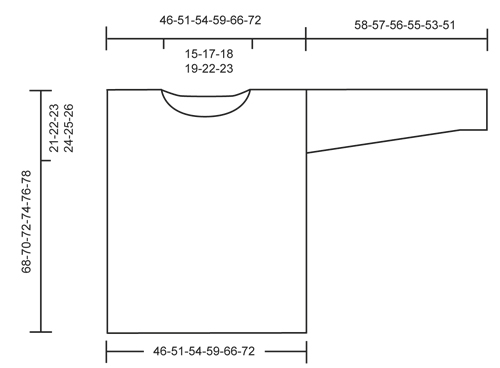
MEASURING TIP: Because of the weight of the yarn all measurements must be done when the piece is held up. GARTER ST (back and forth on needle): K all rows. 1 ridge = 2 rows K. ENGLISH RIB (back and forth on needle): Row 1 (from WS): 1 st in garter st, * 1 YO, slip 1 st as if to P, K 1 *, repeat from *-* until 2 sts remain, 1 YO, slip 1 st as if to P, 1 st in garter st. Row 2 (= from RS): 1 st in garter st, * K tog YO and slipped st, 1 YO, slip 1 st as if to P *, repeat from *-* until 2 sts remain, K tog YO and slipped st, 1 st in garter st. Row 3 (= from WS): 1 st in garter st, * 1 YO, slip 1 st as if to P, K tog YO and slipped st *, repeat from *-* until 2 sts remain, finish with 1 YO, slip 1 st as if to P, 1 st in garter st. Repeat 2nd and 3rd row upwards. ENGLISH RIB ST: When counting the sts, the YOs are not counted as sts. INCREASE TIP (applies to sleeve): Inc 1 st inside 1 edge st in each side of piece. Inc 1 st by making 1 YO, on next row work YO twisted i.e. work in back loop of st instead front. NOTE: Work the inc sts in English rib. CAST-OFF TIP: When casting off, work YO and slipped st K tog (= K 1). ---------------------------------------------------------- BACK PIECE: Worked back and forth on circular needle to make room for all the sts. Cast on 82-90-96-106-118-128 sts on circular needle size 4.5 mm with Karisma. Work as follows – from RS: 1 edge st, * K 1, P 1 *, repeat from *-* and finish with 1 edge st. Work edge st in GARTER ST until finished measurements - see explanation above. Work rib like this for 6 cm – READ MEASURING TIP. Inc 1 st at the end of last row in rib (last row = from RS) = 83-91-97-107-119-129 sts. Continue to work in ENGLISH RIB with 1 edge st in each side - see explanation above. When piece measures 47-47-47-46-45-43 cm, work a false raglan – 4 sts in English rib in each side should be displaced towards the neck. In the right side (from RS) inc 2 sts before 4 sts in English rib and dec 2 sts after 4 sts in English rib. In the left side dec 2 sts before 4 sts in English rib and inc 2 sts after 4 sts in English rib. No of sts should always be the same. Work the 2 inc sts in English rib. Work as follows from RS: 1 edge st in garter st, 2 YOs, insert 1 marker in piece, work 4 sts in English rib as before (YOs are not counted as sts - READ ENGLISH RIB ST), insert 1 marker in piece, pass next YO over st (so that it is behind this st), slip this st to the right needle as if to K, K the next 2 sts tog, psso, continue in English rib until 7 sts in English rib + 1 edge st remain, K the next 3 sts tog, insert 1 marker in piece, work 4 sts in English rib as before, insert 1 marker in piece, 2 YOs, finish with 1 edge st in garter st. On next row work the new YOs as follows: At beg of row (seen from WS): 1 edge st, P in back loop of first YO, 1 YO, K in back loop of second YO, continue in English rib as before. At end of row (seen from WS): K 1 in back loop of first YO, P 1 in back loop of second YO, 1 YO, 1 edge st in garter st. Work 4 rows in English rib over all sts. On next row work in English rib AT THE SAME TIME inc before first marker, dec after second marker, dec before third marker and inc after fourth marker as explained above. Inc and dec on every 6th row 11-12-13-15-17-19 times in total. Work in English rib for 2 cm after last dec/inc. Now cast off the middle 27-31-33-35-39-41 sts - READ CAST-OFF TIP = 28-30-32-36-40-44 sts remain on each shoulder. Finish each shoulder separately. Work in English rib for 2 cm, cast off. The whole piece measures approx. 68-70-72-74-76-78 cm. Insert 1 marker in each side of back piece, 21-22-23-24-25-26 cm down from shoulder. Markers show where sleeve is sewn in. FRONT PIECE: Cast on and work as on back piece until piece measures 58-60-62-64-66-68 cm. Continue inc and dec on every 6th row AT THE SAME TIME cast off for neck as follows: Slip the middle 17-21-23-25-29-31 sts on a stitch holder for neck and finish each shoulder separately. Continue pattern and displacement as before AT THE SAME TIME cast off for neck on every row from mid front as follows: 2 sts 2 times and 1 st 1 time = 28-30-32-36-40-44 sts remain on shoulder. Cast off when piece measures 68-70-72-74-76-78 cm. Insert 1 marker in each side of piece, 21-22-23-24-25-26 cm down from shoulder. Markers show where sleeve is sewn in. SLEEVE: Worked back and forth on circular needle. Loosely cast on 44-46-48-50-52-54 sts with Karisma on circular needle size 4.5 mm. Work as follows – from RS: 1 edge st, * K 1, P 1 *, repeat from *-* and finish with 1 edge st. Work edge sts in garter st until finished measurements. Work rib for 6 cm – READ MEASURING TIP. Inc 1 st at the end of last row in rib (last row = from RS) = 45-47-49-51-53-55 sts. Then work in English rib with 1 edge st in garter st in each side. When piece measures 8 cm, inc 1 st in each side - READ INCREASE TIP above! Repeat inc every 3-2½-2½-2½-2-2 cm 15-16-16-17-18-18 more times (16-17-17-18-19-19 inc in total) = 77-81-83-87-91-93 sts. When piece measures 58-57-56-55-53-51 cm (NOTE! Shorter measurements in the larger sizes because of wider shoulders), cast off. ASSEMBLY: Sew underarm seams inside 1 edge st. Sew in sleeves, down to markers on body. Sew side seams inside one edge st. NECK EDGE: Pick up approx. 84-88-92-96-100-104 sts (incl sts on stitch holder) around the neck on a short circular needle size 4.5 mm. Work rib = K 1/P 1 for 3 cm, then cast off with K over K and P over P. |
|
|
|
|
Have you made this or any other of our designs? Tag your pictures in social media with #dropsdesign so we can see them! Do you need help with this pattern?You'll find tutorial videos, a Comments/Questions area and more by visiting the pattern on garnstudio.com. © 1982-2024 DROPS Design A/S. We reserve all rights. This document, including all its sub-sections, has copyrights. Read more about what you can do with our patterns at the bottom of each pattern on our site. |
|


With over 40 years in knitting and crochet design, DROPS Design offers one of the most extensive collections of free patterns on the internet - translated to 17 languages. As of today we count 304 catalogues and 11422 patterns - 11422 of which are translated into English (UK/cm).
We work hard to bring you the best knitting and crochet have to offer, inspiration and advice as well as great quality yarns at incredible prices! Would you like to use our patterns for other than personal use? You can read what you are allowed to do in the Copyright text at the bottom of all our patterns. Happy crafting!
Comments / Questions (51)
Håller med Christina, har stickat flera av tröjorna här med gott resultat, men den här blev ju enorm! Något måste vara fel med storlekarna och med det rekommenderade garnet blir den väldigt tung och hängig.
22.05.2021 - 08:36Hej Den här blev inte alls bra (och jag är van och sticka). Fruktansvärt tungt garn och tröjan känns väldigt otymplig. Tar ju ändå rätt lång tid med patent så jag rekommenderar ett annat val av mönster och garn 😟.
31.01.2021 - 15:22Hi can i substitute lima mix for karisma in pattern 0-898. Would i use 4 or 4.5 needles and how many balls would i need for an XL pattern (would bis be 42"?)
22.11.2019 - 18:50DROPS Design answered:
Dear Mrs Bennett, since Karisma and Lima are both yarn group B you can use here Lima. Use our yarn converter to check the amount of yarn required for your size. Happy knitting!
25.11.2019 - 08:04Kan inte få till delen avseende falsk raglan o förstår att jag inte är ensam om detta snälla en förklaring som går förstå Anita Roos
10.10.2019 - 08:28DROPS Design answered:
Hej Anita, vi har en bra video som visar hur man gör :)
How to knit the false raglan in DROPS Extra 0-898 from Garnstudio Drops design on Vimeo.
10.10.2019 - 14:19Hi, Is there chest measurements for the different sizes? I.e. size M to fit chest xx cm etc? I’m unsure which size pattern to follow in order for it to fit. Many thanks!
17.09.2019 - 03:26DROPS Design answered:
Hi May, You will find a sketch at the bottom of the page with measurements for the different sizes. Happy knitting!
17.09.2019 - 06:47Hej, Er det muligt at strikke trøjen på rundpind? Eller hvad er årsagen til, at den strikkes frem og tilbage?
25.08.2019 - 13:17DROPS Design answered:
Hej Susanne, Ja du må gerne strikke den på rundpind, da strikkes det patentstrikkede lidt anderledes, du finder instruktionsvideoer på hvordan man gør. God fornøjelse!
10.09.2019 - 14:50Concerne le devant, taille M. A partir de 47 cm j'ai commencé le raglan comme pour le dos et si j'ai bien compris c'est à 60 cm que je dois rabattre les 21 m. centrales et ensuite chaque épaule séparément faisant les dim. côté encolure (directement après les 21 m.centrales ?) Et tout cela en continuant avec le raglan comme pour le dos (12x au total à partir des 47 cm raglan et 2 cm de côtes anglaises après les dernières aug. / dim. ? ) ? Merci pour votre réponse.
10.07.2019 - 11:55DROPS Design answered:
Bonjour Mme Chisaco, effectivement, à 60 cm de hauteur totale, vous glissez les 21 m centrales en attente pour l'encolure et continuez chaque épaule séparément comme avant (faux raglan) en rabattant côté encolure 2 x 2 m et 1 x 1 m. Quand vous avez fait les augmentations et diminutions du faux raglan 12 fois au total, tricotez 2 cm en côtes anglaises et rabattez à 70 cm de hauteur totale, comme pour le dos. Bon tricot!
10.07.2019 - 13:34Danke! Das sie strickmuster in übergrösse haben. Finde ich toll! 👍🏻
24.02.2019 - 21:47Sera, ho guardato il video...il lato dove si inseriscono i segnapunti alla fine sembra essere il rovescio del lavoro....è cosi o sbaglio? perche se cosi fosse allora è giusto come mi viene.. grazie
14.12.2018 - 19:41DROPS Design answered:
Buonasera Germana. Il diritto del lavoro è il ferro su cui vengono spostate le coste. Buon lavoro!
16.12.2018 - 21:51Salve ho un problema con il raglan....sto facendo una taglia xl sul dritto del lavoro ho 3 coste che vanno per sbieco mentre sul rovescio ne ho 2 come nel modello.....Mi sta sorgendo il dubbio che quello che penso sia il dritto in realtà e il rovescio....Aiutooo ho già smontato 2 volte il lavoro perché non riuscivo a farlo e ora che sembra ci sono riuscita mi è sorto questo dubbio....grazieeee
13.12.2018 - 20:28DROPS Design answered:
Buongiorno Germana. Provi a confrontare il suo lavoro con quello mostrato nel video sotto. Per ulteriori dubbi, può contattare via mail il suo rivenditore Drops di fiducia, allegando una foto del suo lavoro. Buon lavoro!
14.12.2018 - 13:16