
Popular categories
Looking for a yarn?


|
|||||||
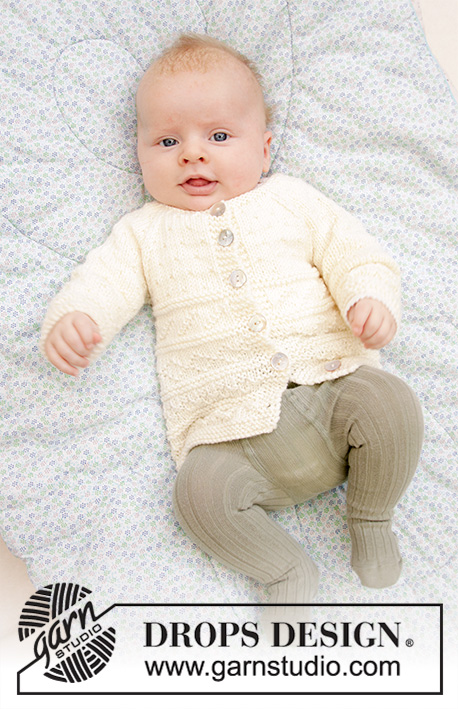
Winter Baby |
|||||||
 |
 |
||||||
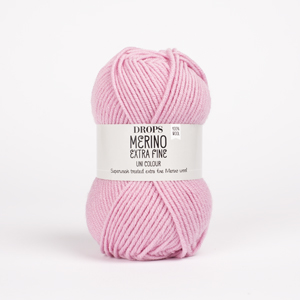
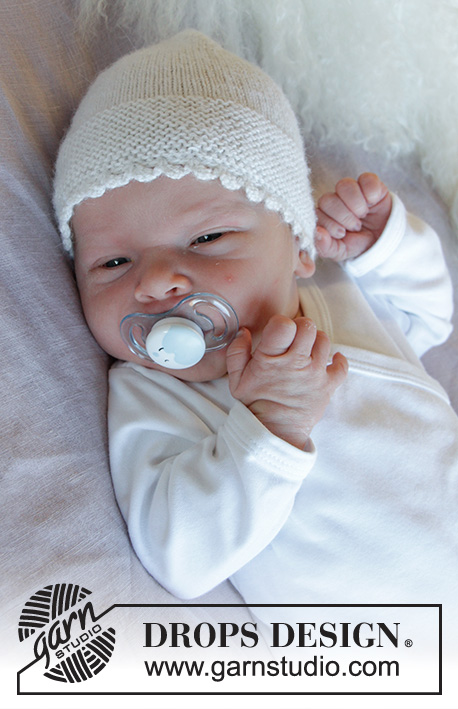
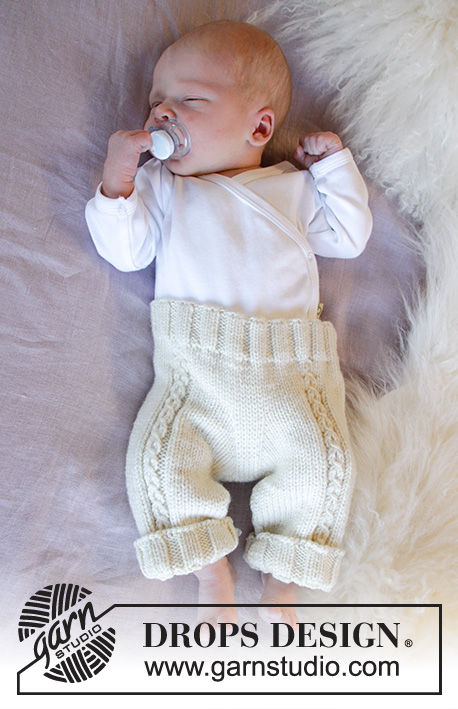
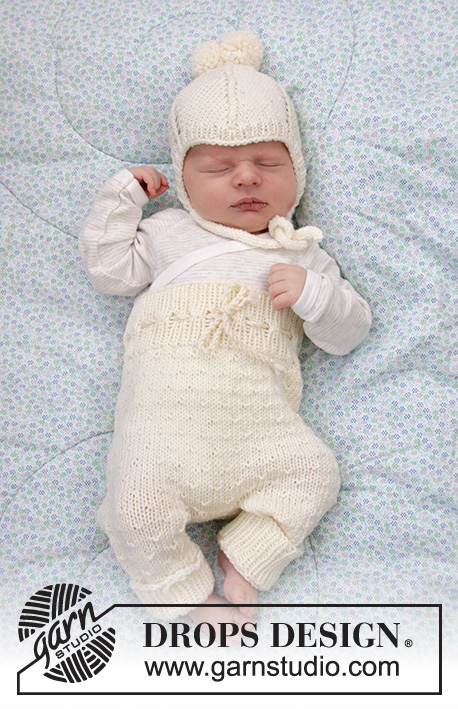
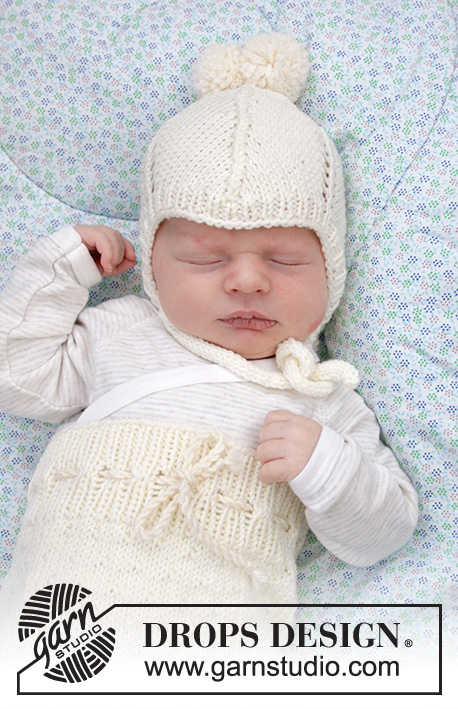
Knitted set of trousers and hat for baby in DROPS Merino Extra Fine. Size: Premature to 4 years
DROPS Baby 33-12 |
|||||||
|
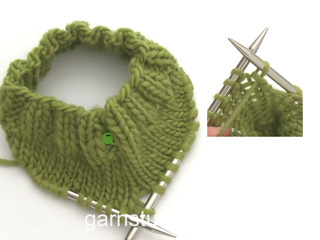
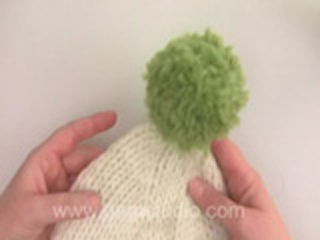
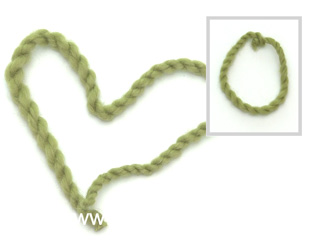
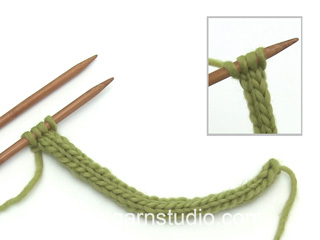
---------------------------------------------------------- EXPLANATION FOR THE PATTERN: ---------------------------------------------------------- PATTERN (applies to pants): See diagram A.1. DECREASE TIP (applies to inside of legs): Begin 3 stitches before marker and knit 2 together, knit 2 (marker is between these 2 stitches), slip 1 stitch knitwise, knit 1, pass slipped stitch over stitch worked. INCREASE TIP (applies to pants): Increase 1 stitch by making 1 yarn over, on next round work yarn over twisted to avoid holes. ---------------------------------------------------------- START THE PIECE HERE: ---------------------------------------------------------- TROUSERS - SHORT OVERVIEW OF THE PIECE: Worked in the round on circular needles/double pointed needles, top down. Cast on (84) 96-104-116-124 (136-144) stitches on circular needle size 3 mm with Merino Extra Fine. Knit 1 round. Then work rib in the round = knit 1/ purl 1. When rib measures 2½ cm, work a round with eyelet holes for tie as follows: * Knit 1, purl 1, make 1 yarn over, purl 2 together *, work from *-* the entire round (= (21) 24-26-29-31 (34-36) holes on round). Then continue rib = knit 1/purl 1 until piece measures 5 cm from cast-on edge. Switch to circular needle size 4 mm and work an elevation at the back of pants as explained below. ELEVATION AT THE BACK: To get a better fit work the pants higher at the back than at the front. This is done by working short rows back and forth as follows: Insert 1 marker at beginning of round = mid back. Work from right side and knit 10 past marker, turn, tighten yarn and purl 20 stitches back. Turn, tighten yarn and knit 30, turn, tighten yarn and purl 40. Turn, tighten yarn and knit 50, turn, tighten yarn and purl 60. Continue this way until (60) 60-80-80-100 (100-100) stitches have been purled. Turn piece, tighten yarn and knit until mid back. TROUSERS: Now work A.1 in the round over all stitches. REMEMBER THE KNITTING TENSION! When pants measures (15) 17-18-21-22 (23-24) cm from cast-on edge mid front, work next round as follows: Cast off 4 stitches (= mid back), knit (34) 40-44-50-54 (60-64) stitches, cast off 8 stitches mid front, knit (34) 40-44-50-54 (60-64) stitches and cast off the remaining 4 stitches mid back. Cut the yarn. Slip stitches in one side of piece on 1 stitch holder and work leg as explained below. NOW MEASURE THE PIECE FROM HERE! LEG: = (34) 40-44-50-54 (60-64) stitches. Distribute the stitches on double pointed needles size 4 mm and continue A.1 in the round. Knit the stitches that do not fit A.1. When piece measures 2 cm from division, decrease 2 stitches on inside of leg - read DECREASE TIP. Decrease like this every (1½) 1½-1½-1½-2 (2½-3½) cm (4) 5-7-8-8 (8-8) times in total = (26) 30-30-34-38 (44-48) stitches. Continue to work until leg measures (7) 9-12-15-19 (23-29) cm. Knit 1 round while increasing (6) 6-8-6-8 (8-10) stitches evenly (increase after every 5th stitch) – read INCREASE TIP = (32) 36-38-40-46 (52-58) stitches. Switch to double pointed needles size 3 mm and work rib in the round = knit 1/purl 1 for 6 cm (or desired measurements). Loosely cast off stitches with knit over knit and purl over purl. Work the other leg the same way. ASSEMBLY: Sew tog the opening between the legs. TWINED STRING FOR TIE: Cut 2 lengths of approx. 3 metres each. Twine the strands tog until they resist, fold the string double so that it twines again. Make a knot at each end. Thread tie up and down through eyelet row in pants, begin mid front and tie a bow. ---------------------------------------------------------- BEGIN PIECE FOR HAT HERE: ---------------------------------------------------------- HAT: Worked in the round on double pointed needles from mid back. Cast on (60) 66-72-78-84 (90-96) stitches on double pointed needles size 3.5 mm with Merino Extra Fine. Knit 1 round. Then work 4 rounds rib = knit 1/purl 1. Switch to double pointed needles size 4 mm. Knit 1 round. Insert 1 marker at beginning of round = mid back. Then work as follows: ROUND 1: * Knit 1, make 1 yarn over, knit (8) 9-10-11-12 (13-14) stitches, slip 2 stitches knitwise, knit 1 and pass the 2 slipped stitches over stitch worked, knit (8) 9-10-11-12 (13-14) stitches, make 1 yarn over *, work from *-* 3 times in total. ROUND 2: Knit all stitches. Repeat round 1 and 2 until piece measures 7 cm in all sizes. Then work the same way but without increases. I.e. continue decreases the same way until no stitches remain between decreases. On next round knit all stitches together 2 by 2. Cut the yarn and pull it through the remaining stitches, tighten together and fasten. Hat measures approx. (14) 14-15-16-17 (17-18) cm measured form one of the bottom tips. TIE RIBBON: Work back and forth with 2 double pointed needles size 3.5 mm. Pick up 4 stitches in the tip on one side of hat (a tip to cover the ear). Knit 4 stitches, * do not turn piece, but push stitches over to the other side of needle, place the thread behind the 4 stitches, tighten yarn and knit the 4 stitches from the right side again *, work from *-* until tie measures approx. (14)16-18-20-22 (24-26) cm, cast off and fasten the yarn. Work the other tie the same way in the tip on the opposite side of hat. POMPOM: Make 2 pompoms with an approx. diameter of 3 cm. Fasten them at the top of hat. |
|||||||
Diagram explanations |
|||||||
|
|||||||

|
|||||||
|
Have you made this or any other of our designs? Tag your pictures in social media with #dropsdesign so we can see them! Do you need help with this pattern?You'll find tutorial videos, a Comments/Questions area and more by visiting the pattern on garnstudio.com. © 1982-2024 DROPS Design A/S. We reserve all rights. This document, including all its sub-sections, has copyrights. Read more about what you can do with our patterns at the bottom of each pattern on our site. |
|||||||


With over 40 years in knitting and crochet design, DROPS Design offers one of the most extensive collections of free patterns on the internet - translated to 17 languages. As of today we count 304 catalogues and 11422 patterns - 11422 of which are translated into English (UK/cm).
We work hard to bring you the best knitting and crochet have to offer, inspiration and advice as well as great quality yarns at incredible prices! Would you like to use our patterns for other than personal use? You can read what you are allowed to do in the Copyright text at the bottom of all our patterns. Happy crafting!
Comments / Questions (49)
Entschuldigung, ich bin gedanklich bei der Mütze. "Die 1. und 2. Runde wiederholen, bis die Arbeit eine Länge von 7 cm für alle Größen hat. Dann ebenso weiterstricken, jedoch ohne Zunahmen." Wird ebenfalls die 2 R wdh?
07.05.2020 - 15:32DROPS Design answered:
Liebe Uschi, ja genau, die 2. Runde stricken Sie wie zuvor, dh alle Maschen rechts. so werden Sie in jede 2. Runde abnehmen. Viel Spaß beim stricken!
07.05.2020 - 16:19Hallo, stricke ich bei den Abnahmen noch 1 R re.? LG
07.05.2020 - 08:31DROPS Design answered:
Liebe Uschi, entschuldigung welche Abnahmen meinen Sie hier? Danke für mehr Infos!
07.05.2020 - 10:14Haha, I've just finished the trousers with the original A1 chart. I did think it was a bit odd to have 3 plain rows alternating with 5, but I went with it. Now doing a jacket with the same original chart. No point changing now! LOL!
17.03.2020 - 12:30Hei I mønster A1, skal man ha først to runder rett, så mønster, så tre runder og så mønster og så fem før mønster igjen? Ser ikke sånn ut på bildene...
10.03.2020 - 20:04DROPS Design answered:
Hei. Her ser det som det er 2 omganger for mye i diagrammet i forhold til bildet. Dette skal vi få ordnet, takk for at du gjorde oss oppmerksom på dette. mvh DROPS design
16.03.2020 - 11:04Vad menar ni med att inte göra ökningar på mössan.när det ska minskas
07.03.2020 - 15:20DROPS Design answered:
Hei E A. Etter vrangborden er strikket, strikkes 1. og 2. omgang som forklart i oppskriften. Når arbeidet måler 7 cm, strikkes det videre, men det økes ikke. Da blir forklaringen til 1. omgang slik: Strikk * 1 rett, strikk (8) 9-10-11-12 (13-14) masker rett, ta 2 masker løs av pinnen som om de skulle strikkes rett sammen, strikk 1 rett og løft de 2 løse maskene over masken som ble strikket (= 2 MASKER FELT), strikk (8) 9-10-11-12 (13-14) masker rett*, strikk fra *-* totalt 3 ganger. Nå blir det felt 6 masker på hver omgang. God Fornøyelse!
09.03.2020 - 12:07Bonsoir, comme plusieurs ici je ne comprends pas comment arriver à tricoter apres les 7 cm du bonnet toujours * 1m endroit, 9 m endroit , diminution, 9 m endroit * et avoir un motif regulier? ne devrait on pas a chaque tour 1 passer de 9 puis a 8 puis a 7.....? merci beaucoup
03.03.2020 - 00:55DROPS Design answered:
Bonjour Mme Jaquenoud, tout à fait, comme vous n'augmentez plus, le nombre de mailles entre les diminutions va automatiquement diminuer, continuez simplement en diminuant comme avant (les diminutions doivent être bien alignées les unes au-dessus des autres), mais ne faites plus les jetés que vous faisiez avant pour que le nombre de mailles diminue. Bon tricot!
03.03.2020 - 09:51Hei. Jeg holder på med luen og har strikket de 7 cm, er der hvor en bare skal gjøre fellingene nå. Jeg får det ikke til. Kan dere forklare til ei som trenger å få inn med teskje?
15.02.2020 - 20:40DROPS Design answered:
Hej, du fortsætter bare med indtagningerne som du har lavet hele tiden, uden at øke :)
18.02.2020 - 09:35Jeg får det ikke til! Jeg har rakka opp 8 ganger.. må være noe som ikke stemmer med oppskriften
28.01.2020 - 20:04Bonsoir, est il possible de réaliser ce modèle avec des aiguilles droites? si oui dois-je rajouter 2 mailles au montage pour les mailles lisières? Mercii
27.01.2020 - 21:35DROPS Design answered:
Bonjour Mme Jaquenoud, vous trouverez ici quelques informations sur l'adaptation d'un modèle pour aiguilles droites. Bon tricot!
28.01.2020 - 10:35Guten Tag, Ich habe nun 7 cm fertig gestrickt und soll ohne Zunahmen weitermachen, aber wie viele Maschen stricke ich dann zwischen den Abnahmen? Also bevor ich jeweils die 2 Maschen überhebe? (Es wird für Neugeborene also 66 Maschen.) VIELEN DANK!
06.01.2020 - 22:36DROPS Design answered:
Liebe Ramona, bei der 1. Runde stricken Sie wie zuvor aber ohne die Umschläge = *1 Masche rechts, 9 Maschen rechts, 2 Maschen zusammen wie zum Rechtsstricken abheben, 1 Masche rechts und die beiden abgehobenen Maschen überziehen, 9 Maschen rechts*, von *-* wiederholen. Dann stricken Sie nur 8 Maschen, dann 7 usw anstatt 9. Viel Spaß beim stricken!
07.01.2020 - 09:13